REDLINE
Driver Install for USB-A1
![]()
REDLINE
Driver Install for USB-A1
|
|
|
|
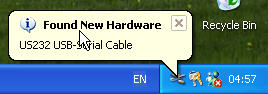
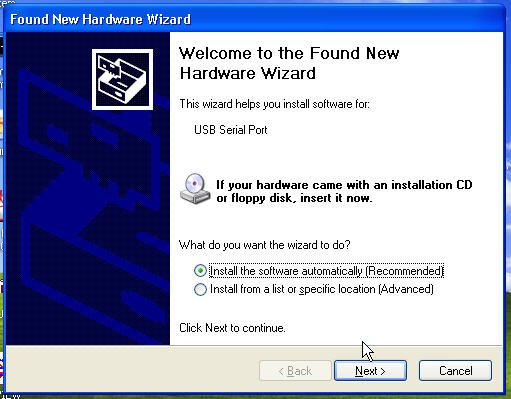
Windows XP Driver Installation Guide This document describes the installation procedure of the USB-A1 kit using FTDI’s VCP drivers under Windows XP and information on what to look for if installation doesn't go as planned. The driver installation is a two stage process, firstly the USB section of the driver is loaded followed by the COM Port driver. The CD-ROM provided with the kit should be inserted into the CD-ROM drive of the PC prior to plugging in the device. Plug in your device. This should bring up a "Found New Hardware" help bubble and launch the Found New Hardware Wizard. These should describe the Hardware as "US232 USB-Serial Cable". |
|
|
|
|
|
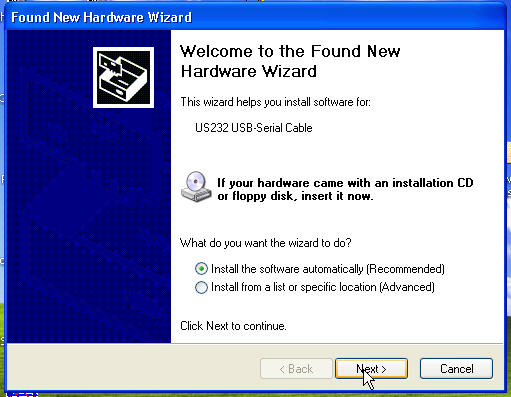
Make certain that the "Install the software automatically" option is checked. Click on "Next" to continue. |
|
|
|
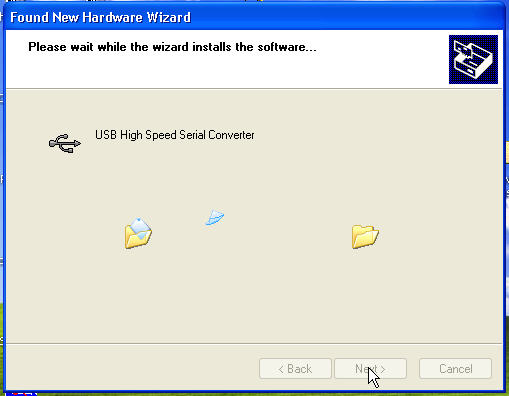
You may see the above screen during the installation process as Windows XP copies the files from the CD. No user intervention is required. |
|
|
|
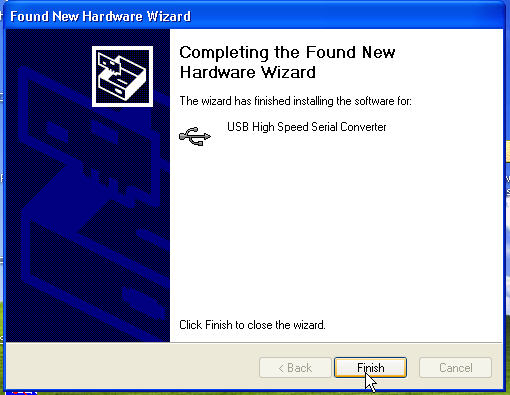
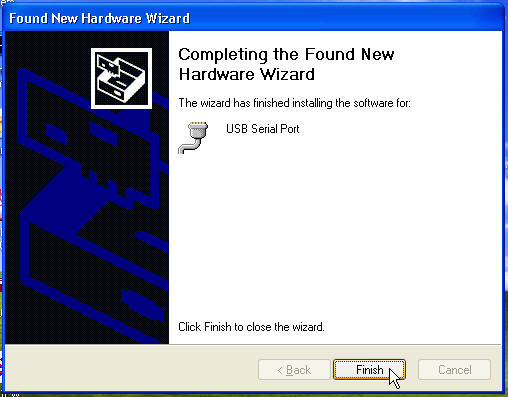
The USB Drivers have now been installed - click the "Finish" button finish the USB driver installation and to install the COM Port drivers. The Found New Hardware wizard will re-launch for the second part of the driver installation as shown below. |
|
|
|
After the driver installation is complete, this screen will appear. Click on "Finish" to complete the installation. This time, the Hardware Wizard will display "USB Serial Port" as being the software it wants to install. |
|
|
|
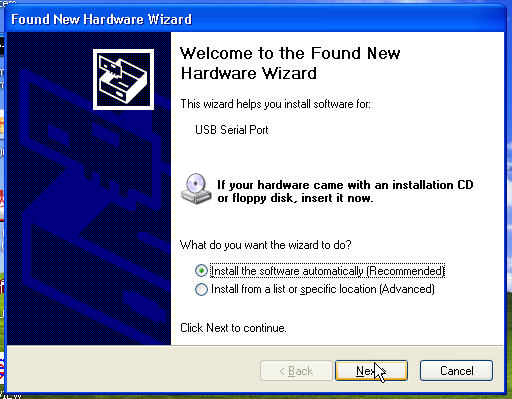
Make certain that the "Install the software automatically" option is checked. Click on "Next" to continue. |
|
|
|
Click the "Finish" button to complete the second part of the driver installation. The Help bubble should inform you that the new hardware is installed and ready to use. |
|
|
|
|